Installation Instructions: TDS GTNXi
It was never easier to install an add-on for Microsoft Flight Simulator 2020/2024
Below are the installation instructions for the TDS GTNXi inside Microsoft Flight Simulator 2020/2024
Step 1a: Download the TDS GPS Manager
- The TDS GPS Manager is the all in one tool used to download, update, reinstall and manage TDS Sim Software products; there are no separate installers needed
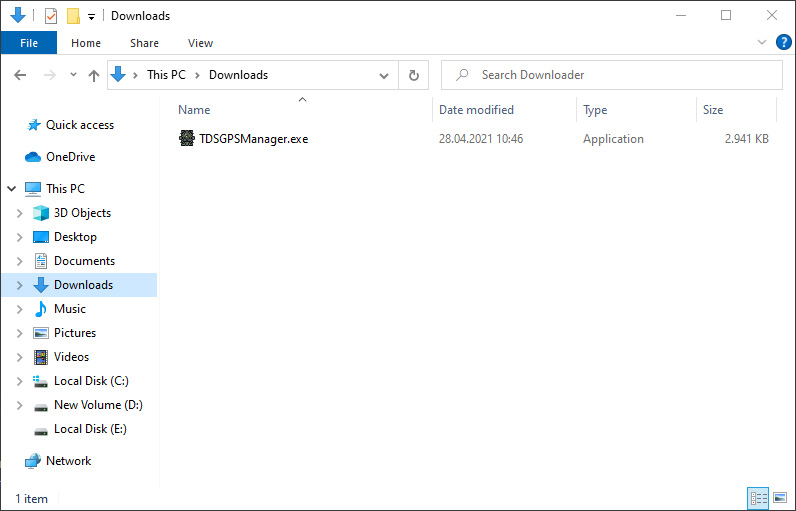
- Once purchased, access my account to download for the TDS GPS Manager, which is usually saved in the Downloads folder of the computer
- The Downloads folder can be accessed by clicking the Computer icon on the Desktop, then accessing the Downloads folder from the left navigation menu
- It can also be accessed by pressing the Windows Start menu and typing in Downloads
- The TDS GPS Manager file name is: TDSGPSManager.exe, you must run this file and a login screen will appear
- In case you have specified a different Downloads folder in your Web Browser, please access that new location of the file
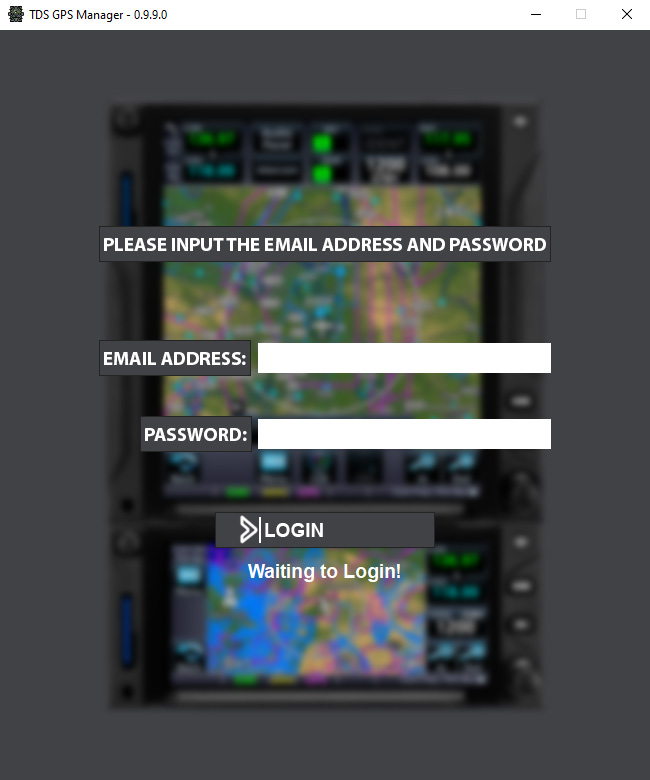
Step 1b: Run the TDS GPS Manager and Login
- Once you have started the TDS GPS Manager, you must login by typing the email address and password used to register on tdssim.com and purchase the TDS GTNXi Flight Sim
- In case you forgot the password, it can be easily reset by accessing this link: Reset Password
- A successful login can be confirmed by the interface advancing to the next screen, giving the user the ability to install the software
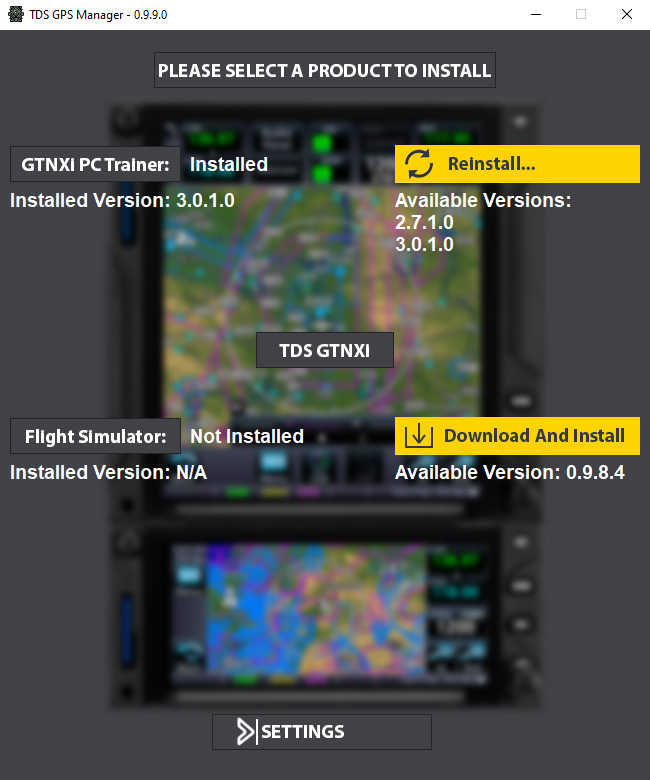
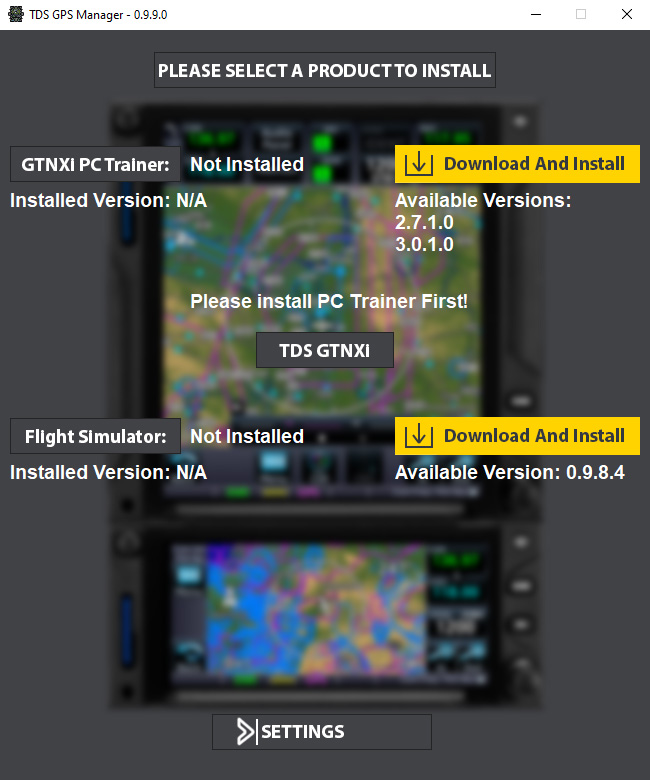
Step 2a: Install the GTNXi PC Trainer
- The GTNXi PC Trainer must be downloaded and installed before the actual TDS GTNXi Flight Sim software
- From the main TDS GPS Manager interface, press the Download and Install button to the right of the GTNXi PC Trainer label
- A PC Trainer selection box will come up, it is highly advisable to install the Recommended PC Trainer. Under special circumstances, the user can install a previous version, which is compatible, but has less features
- The necessary files will be downloaded automatically and the progress percentage and time will be displayed on the yellow button
- Once the main PC Trainer file has downloaded, it will be run automatically, you must press Next and install the conents, the window will close upon completition
- The second part of the PC Trainer, the actual GTNXi software will download and run, you must follow the same steps
Step 2b: Install the TDS GTNXi Flight Sim
- Once the GTNXi PC Trainer has been installed, you can proceed with installing the TDS GTNXi Flight Sim
- From the main TDS GPS Manager interface, press the Download and Install button to the right of the GTNXi Flight Sim label
- The installation will be done automatically, no user intervention is needed, once finished a Message Box will pop-up, confirming the status
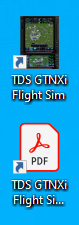
- You can run the TDS GTNXi by double clicking the newly created Desktop shortcut
- Important Note: Flight Simulator 2020/2024 must be running in flight mode for the TDS GTNXi Flight Sim to successfully connect and transfer data
- More information on the TDS GTNXi Flight Sim can be found in the user's manual, which cen be opened from the Dekstop Shortcut or by accessing this link: Download Manual